Is anyone else as obsessed with Half Price Books as I am? Man I love that place. A year or two ago I picked up this book on handspinning and dyeing (surprisingly that’s not even the only yarn spinning book I’ve come across/gotten there) and it had a tutorial for making a drying rack out of pvc pipe and plastic netting. I was immediately like: “yes, I need that in my life,” because who has the floor space to dry all the wool one wishes to wash? I was all for using pvc piping but then Home Depot just was not showing up with the joints I needed. So I went with wood instead and it turned out well! The only sad part is that I can’t take the levels apart on a whim, so it can’t be stored away easily.


The whole thing was pretty straightforward. I started with 12 2ft sections of 1″x2″ wood, 4 for each level, and then 4 additional 2ft sections of 1″x2″ wood for the 4 “columns” running vertically. I cut my wood pieces with a compound miter saw. If I remember correctly I screwed each of the 3 levels together before than screwing those in to the 4 column pieces. Then I cut out garden netting that was roughly the size of the frame opening for each level plus a few inches on each edge, and took a bunch of zip ties, about 3 per side per level, and tied the netting to the frame.

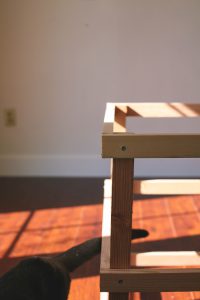


It’s far from glamorous but fully functional! I’ve already gotten some use out of it and am excited to see it at full working capacity 😉